Saturday, August 14, 2010

basket liner

I had a friend who really wanted a liner for her bicycle basket. She has a little dog that rides in the basket, and she puts a piece of cardboard in the bottom so she doesn't fall through the basket.  She knows that I am a crafty sort of person, so she showed me this website and asked if I could do something similar (but without the straps to be a handbag).

I got the measurements and she bought the fabric, so all I had to do was figure out how it fits together.  I've made a few purses before, so I figured the construction would be similar--make a lining, make the outside part, and stitch them together somehow.

Here is the inside:
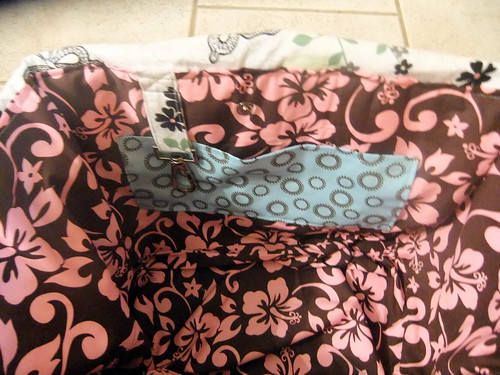
inside pocket with key clip
I made a basic lining but added pockets to both sides.  I also made some bias tape and stitched with an "x" to keep that key loop in place. I figured it would get pulled on a lot, so I wanted to make sure that it was secure. As you can see, I placed the key loop close to the pocket so your keys would fit nicely in the pocket.

The other side:
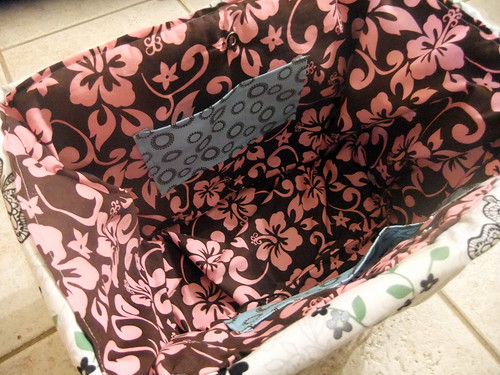
inside the basket

I didn't use a pattern, just made it up as I went along.
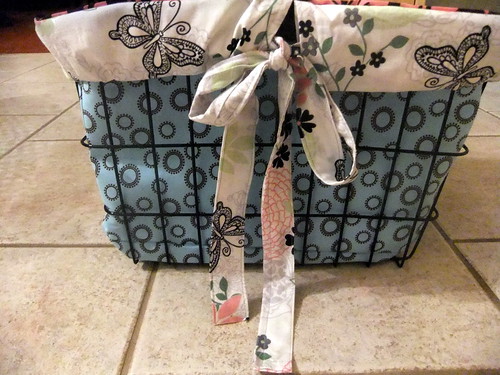
basket liner in basket!

For the outside sashing, I originally thought that I would just sew it down. Then I realized that it has a function if you make the "bow" tighten the grip on the basket.  So I made a big loop, stitched on edge between the lining and the outside, and folded over. Then I threaded through the "ribbon" that I had made.  I should mention I did all of this PRIOR to actually seeing the basket in person.  I think it turned out ok.  I was really relieved that it fit, and very happy that the bow was found to have a functional purpose!
Monday, July 26, 2010

I'm back!

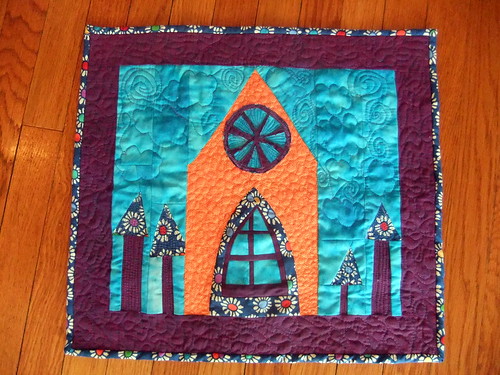
Sorry for the long hiatus.  I had to pack up my apartment, move to a new one, unpack, pack for an 8-day trip to CA, go on said trip, come back, go to a wedding, and clean the old apartment so I can turn in the keys.  Whew!  The good news is I have a new sewing room, all to myself.  I am ecstatic.  There will be pictures once it's ready. In the meantime, I can finally show the quilt that I made for Manuela for the ICE challenge with the Chicago Modern Quilt Guild.  It was super fun coming up with a design--I made so many sketches and finally ended up with what I had thought originally.

Manuela's ICE quilt


I couldn't shake the cathedral idea.  That block just really reminded me of those beautiful cathedrals in Europe.

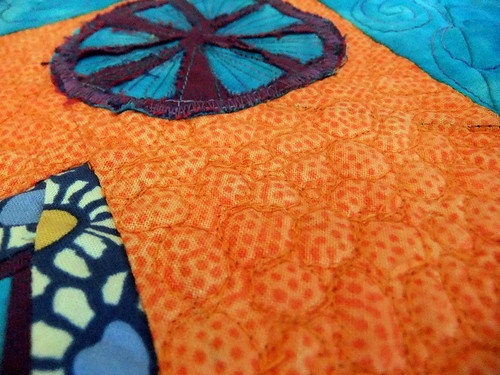
I had a lot of fun with the quilting on this one--I tried pebbles:

pebble quilting on the walls


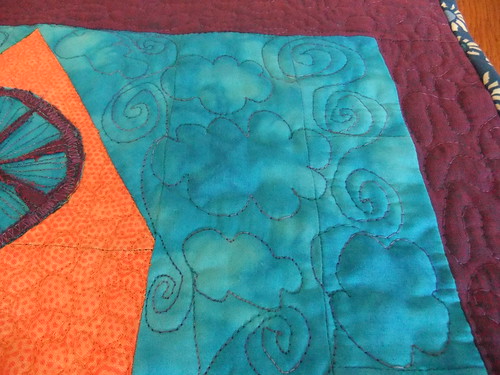
And  made fluffy clouds!
happy clouds!


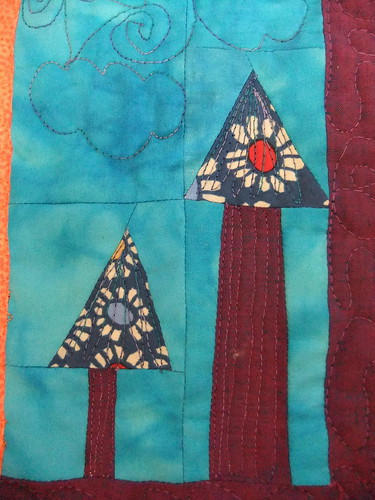
And I had to have some wonky little trees!
wonky trees


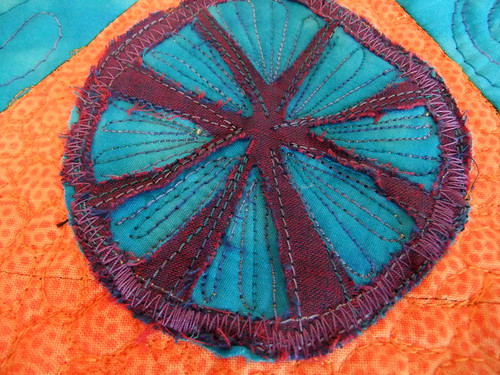
I am not thrilled with the cathedral window, but here is a close up anyway:
cathedral window


And finally, the back.
the back!

I hope you like it Manuela!  I had so much fun making it.

Friday, July 2, 2010

how could I forget?

I can't believe I forgot to post this.  A shout out to Jacquie, for being awesome in general, but I won her giveaway and got her quilt last week.  It is lovely!

Thanks Jacquie!

Wednesday, June 30, 2010

Hip 2 Bee Square June

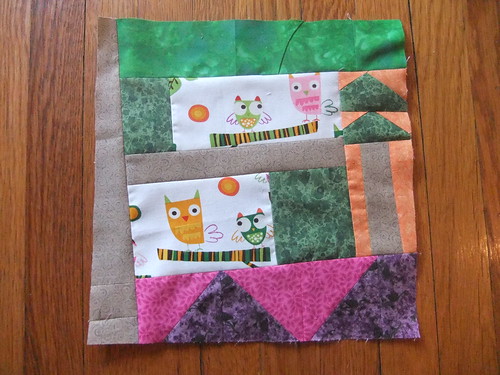
Just by the skin of my teeth!  I finished this block. Jan asked for some wonky trees or log cabins, and we had to include these cute owls.  I had a vision of the owls sitting on the trees, with a little wonky tree to the side.  Here is what it turned out to be;
Hip 2 Bee square June
It was fun, and those owls are super cute!

Monday, June 28, 2010

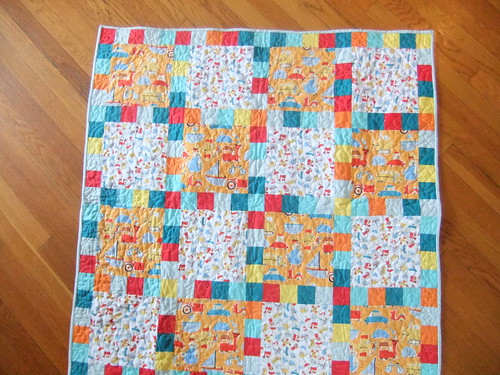
baby quilt finished

I showed this quilt before but I've finished it now.  It came out really cute.

cars front


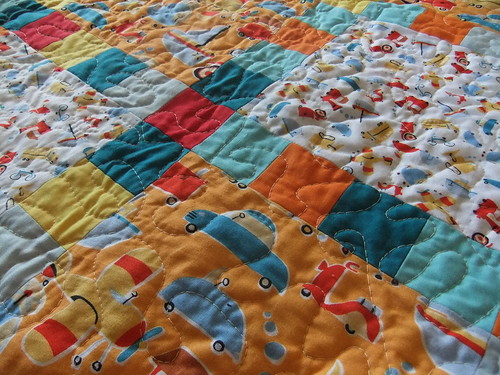
Some detail:
cars detail


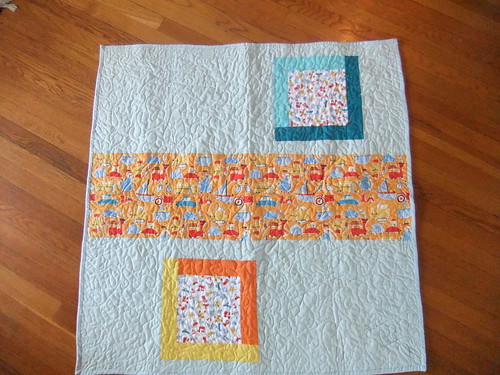
And the pieced back:
cars back

I got it done super early! My friend isn't due until the end of September, but it works out. I am pretty busy in the next few weeks, and we are moving apartments as well, so everything is going to have to be packed up pretty soon.

Sunday, June 6, 2010

More ICE at CMQG

At last month's meeting of the CMQG, we started our ICE challenge (see my block here).  Each person who puts in a block got to take one home.  Now comes the hard part--we build on the block we got and make a mini-quilt.  I got Manuela's block.  I really love it, but I am having a hard time doing it justice.  I've made at least six sketches, and I've got ideas for a few more.  If  you had this lovely block, what would you do with it?

And you can only use the fabric in that little pile there...

Saturday, June 5, 2010

Quick baby quilt...more process discussion

While I have not taken the "Process Pledge" per se, I feel like it is good to see how people come up with what they are doing.  I had some cute David Walker "Oh Boy!" fabric, and I knew I wanted to make a baby quilt for my friends who are expecting in September.  The fabric was so cute I didn't want to cut up the large-scale fabric, so I got out my notebook and designed a simple quilt.  I am sure there are patterns out there for this quilt--I just made it up based on some basic measurements.

I knew I wanted 2.5" squares (2" finished) so I figured out that if I put four together, I would get a side of a square that is 8.5".  So I cut my large squares 8.5x8.5, and cut a bunch of 2.5" strips.

Then I combined the strips together (length-wise) and cross-cut them into 2.5" pairs.  Then I mixed them all up and laid them out, like this:

As you can see, because I was using pairs I ended up needing "singles" on the ends.  I played around with the arrangement a little to make sure that there was some diversity--no pairs of the same color next to each other.   I sewed each row together and then sewed all the rows together, and I have a completed top!

Now I just need to figure out what to use for backing.  In general, it came together very quickly.  Feel free to email me if you would like to make a similar quilt and have questions about the measurements or anything.