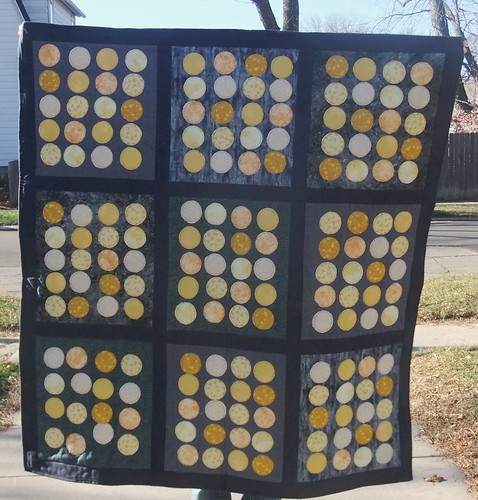
As I mentioned before, I made a quilt to enter into the Modern Quilt Guild's Challenge. You can read more about it here. I really enjoyed making this quilt. It was a stretch for me artistically--I made up the pattern myself, which I do sometimes, but this one I really planned out. I also used a color scheme I NEVER use, so that was good to push myself. Many people say that quilters are afraid of yellow. Well, my quilt is all about yellow!
So here is the inspiration photo I used:
This is taken at a bakery in Lisbon, Portugal, called Pasteis de Belem (Belem is the neighborhood). We went to Portugal for our honeymoon and it was fabulous--I highly recommend it! The bakery makes thousands of these little custards every day. The line is out the door, but it moves quickly. We didn't know when we first got some that most people order them by the sleeve (of 10!). We got 4 to start and came back for more. You have to have them hot, and you sprinkle a little bit of powdered sugar and cinnamon on them. They are just heavenly!!!
Here is a picture of the inside of one.
Anyway, the original picture inspired me with the little circles against a dark background. I abstracted them out and decided that 20 circles per block was about right. As I showed in earlier pictures, I cut out a bunch of circles of varying yellows and stuck them onto fabric using fusible web (Steam a Seam) and my trusty iron. For the yellows I chose a variety to give it more interest. Same goes for the greys--no two baking sheets are ever the same, so I found a couple different greys to use. After sashing and sandwiching the quilt, I then stitched down each circle. Some people would have done that before quilting, but I wanted them to end up a little "puffy" like the pastries they represent, so I opted for doing it all at once. If it was a larger quilt I may not have had the patience for that.
I REALLY love how it turned out. Even if I don't win, I am glad I made this quilt. The process was incredibly worthwhile for me. Not sure what I'll do with it next, as it doesn't really go with my house (at all) but a friend of mine moved to a new house and was thinking of doing her guest room in gray/yellow, so this might be a good housewarming gift.
Saturday, December 4, 2010
Monday, November 22, 2010
not Pringles....
At the last meeting of the Chicago Modern Quilt Guild, we had a lovely day of just sewing! It was super fun and there were lots of snacks and goodies, as it was our last meeting of the year and sort of our "holiday party". Lots of people came by my table to see what I was up to. They saw the piles of yellow circles from my previous post and thought that the heat n'bond circles were Pringles. They soon figured out what I was doing. I took off the backing from each of 180 circles, and stuck it to a yellow circle. Then I ironed them all down to the background. I added some sashing and I have a quilt!
I'm working on quilting it now and it is coming together REALLY well. I am really loving it, even though I don't normally make up my own pattern, or use grey, or use yellow. There will be more to see when I finish!
I'm working on quilting it now and it is coming together REALLY well. I am really loving it, even though I don't normally make up my own pattern, or use grey, or use yellow. There will be more to see when I finish!
Saturday, November 13, 2010
A process post...
I've decided to enter the Modern Quilt Guild Challenge 1. It requires that you make a quilt inspired by a photo. I won't show the photo, but I'll show you the progress here.
It involves 180 of those little heat n'bond circles and 180 of those little yellow circles. For the fabric it helped a lot that I had one of those rotary compass cutters so I could do 4 perfect circles at a time. The paper I traced out while I was on the airplane and cut when I got home. I'll show more progress as they get added to their background.
Tuesday, November 2, 2010
Bloggers Quilt Festival
Amy is hosting the Bloggers Quilt Festival again, and I am happy to enter this quilt into the show. I've shown it before but I really do love it.
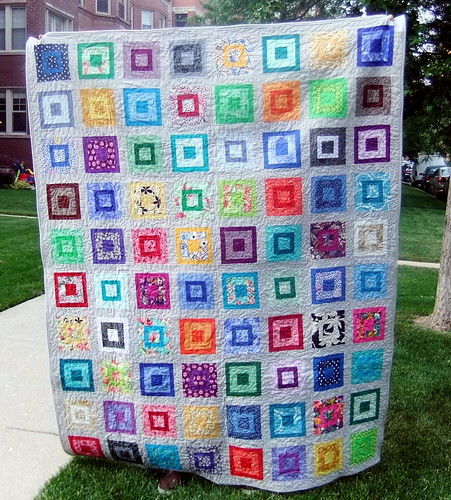
This is a quilt I made for my friend's wedding. They got married last year, and I sent it a few weeks before their wedding. I don't send out all my quilts for longarm quilting, but I'm glad I did with this one. There is no way I could have done those perfect concentric circles!
Here is a close up:
They really loved it, and it went perfectly with their living room decor. It's based on a pattern by Jason Yenter called "Block Party". It was a lot of work but definitely worth it!
Sunday, October 31, 2010
what I'm working on
As I mentioned, I went to Gwen Marston's Beaver Island Quilt Retreat with my mom. It was very fun, very relaxing,and the location was just gorgeous. The lodge is right on a lake, and all the trees were changing colors, plus the weather was sunny and warm. It was so nice, and all the ladies were so friendly. I'll post more about it in another post.
While I was there, one of the women at my worktable had brought a pile of pictures she grabbed from catalogs and magazines. In it, there was a great picture of a carpet that really intrigued me. I don't have a picture to share, but it really inspired me. I pulled out my greens and browns and started cutting strips and hanging them on the design wall. I couldn't figure out what was wrong with it. I left it on the wall and went to bed. In the morning, Gwen came by and asked what I was working on, so I showed her and told her it needed "something". She directed me back to the inspiration picture, and pointed out that there was some gold in the picture that set off the other colors nicely. So I went back to my stash box and found some gold. That was just what I needed! So I put that on the wall and it didn't look so dreary anymore.
Now this whole quilt is not a color palette I normally work with, so it was a real stretch. I've been doing that lately--pushing myself out of my comfort zone in terms of color. I feel like it is so easy to get caught up in the colors you like, the palettes you like, that you may not "grow" a lot as an artist.
I was going to quilt it myself, but then my friend Ebony offered free quilting so that she could practice on her new longarm machine, and I knew it would be the perfect challenge for her. I don't know what she'll do, but I'm sure it will be great. She has a great eye for design and I've always enjoyed her quilting designs prior to her getting this new machine, so I am excited! I'll be sure to post once it is done.
Saturday, October 30, 2010
finally another finish!
I don't know about you, but I keep a little spreadsheet of all my finished quilts, with a tab for WIPs/UFOs. When I added this one, I was a little shocked/dismayed to see that last one I finished was in May. :( I'm glad to be back though!
This quilt I made from my scrap bin, so I'm proud of myself for actually using scraps. The green was something from my stash. I had sewed some of the strips together when I headed out to Gwen's Beaver Island Quilt Retreat. While I was there, I realized I didn't have enough green to do borders all the way around. Being that we were talking about liberated quilting, everyone suggested I just add cornerstones, and problem solved.
I'm really glad I did. They are quite liberated, plus I added some strips to get them to fit. But having seen all of Gwen's antique quilts, where people just used whatever they had, I knew that it would be just fine. I quilted this the Saturday before the baby shower and finished sewing on the binding the morning of the shower.
The mama to be loved it and was very excited that I backed it in a pink print with white stars. I guess the baby's room has exploded in pink, so it will fit right in. That's another one down and I've got two more tops to quilt, as well as lots of blocks I played with while on retreat.
Plus, since I've made my little one announcement (see previous post), I found out one of my friends is 12 days ahead of me, one is 12 days after, and another is about a week after that! So I've got three more baby quilts needed soon! I'd like to get them done before I am too busy with my own, so my goal is by the end of the year to finish two more, and the other one in January. We'll see how that goes!
Thursday, September 30, 2010
Sorry for the Absence....
Just wanted to apologize for my long absence. Two things have prevented me from posting. 1) I lost the cord to upload pictures from my camera. I kept looking, hoping it would turn up but now I am just going to order a new one. 2) I am pregnant (15 weeks) and there were quite a few weeks where I didn't feel like doing anything because the nausea was so bad. I'm feeling better now and will be back to our regularly scheduled programming shortly.
I recently made a quilt as a quilt tester for Ebony, and I'm going to the Beaver Island Quilt Retreat next week with my mom, so I am sure lots of quilting will be done! Once I can post pictures I should be back in business (until the baby comes, of course--then I might be a little busy for awhile).
I recently made a quilt as a quilt tester for Ebony, and I'm going to the Beaver Island Quilt Retreat next week with my mom, so I am sure lots of quilting will be done! Once I can post pictures I should be back in business (until the baby comes, of course--then I might be a little busy for awhile).
Saturday, August 14, 2010
basket liner
I had a friend who really wanted a liner for her bicycle basket. She has a little dog that rides in the basket, and she puts a piece of cardboard in the bottom so she doesn't fall through the basket. She knows that I am a crafty sort of person, so she showed me this website and asked if I could do something similar (but without the straps to be a handbag).
I got the measurements and she bought the fabric, so all I had to do was figure out how it fits together. I've made a few purses before, so I figured the construction would be similar--make a lining, make the outside part, and stitch them together somehow.
Here is the inside:
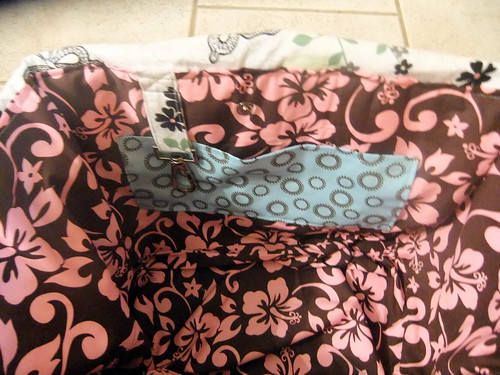
I made a basic lining but added pockets to both sides. I also made some bias tape and stitched with an "x" to keep that key loop in place. I figured it would get pulled on a lot, so I wanted to make sure that it was secure. As you can see, I placed the key loop close to the pocket so your keys would fit nicely in the pocket.
The other side:
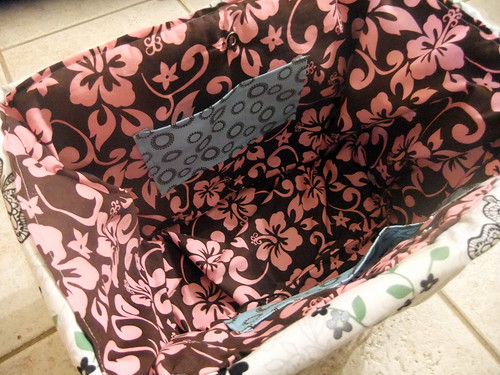
I didn't use a pattern, just made it up as I went along.
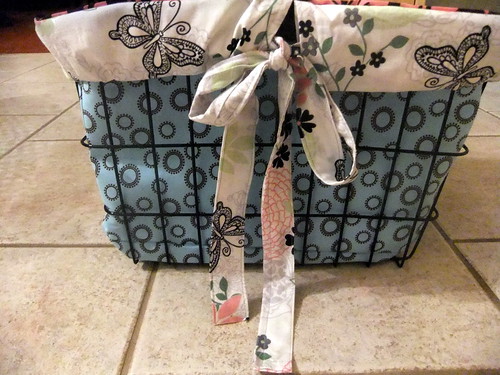
For the outside sashing, I originally thought that I would just sew it down. Then I realized that it has a function if you make the "bow" tighten the grip on the basket. So I made a big loop, stitched on edge between the lining and the outside, and folded over. Then I threaded through the "ribbon" that I had made. I should mention I did all of this PRIOR to actually seeing the basket in person. I think it turned out ok. I was really relieved that it fit, and very happy that the bow was found to have a functional purpose!
I got the measurements and she bought the fabric, so all I had to do was figure out how it fits together. I've made a few purses before, so I figured the construction would be similar--make a lining, make the outside part, and stitch them together somehow.
Here is the inside:

I made a basic lining but added pockets to both sides. I also made some bias tape and stitched with an "x" to keep that key loop in place. I figured it would get pulled on a lot, so I wanted to make sure that it was secure. As you can see, I placed the key loop close to the pocket so your keys would fit nicely in the pocket.
The other side:

I didn't use a pattern, just made it up as I went along.

For the outside sashing, I originally thought that I would just sew it down. Then I realized that it has a function if you make the "bow" tighten the grip on the basket. So I made a big loop, stitched on edge between the lining and the outside, and folded over. Then I threaded through the "ribbon" that I had made. I should mention I did all of this PRIOR to actually seeing the basket in person. I think it turned out ok. I was really relieved that it fit, and very happy that the bow was found to have a functional purpose!
Monday, July 26, 2010
I'm back!
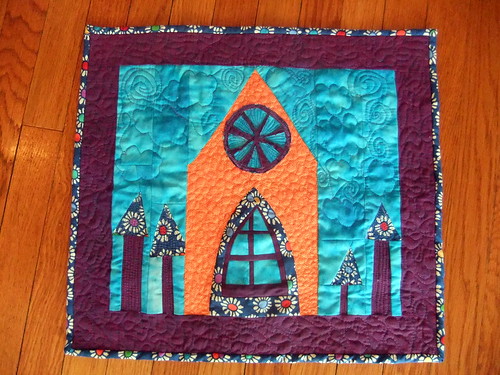
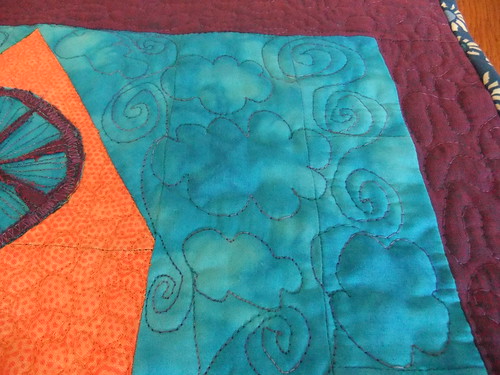
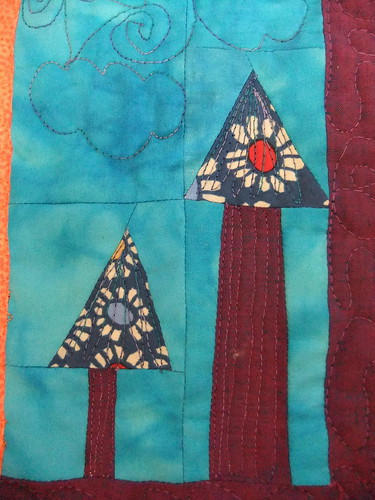
Sorry for the long hiatus. I had to pack up my apartment, move to a new one, unpack, pack for an 8-day trip to CA, go on said trip, come back, go to a wedding, and clean the old apartment so I can turn in the keys. Whew! The good news is I have a new sewing room, all to myself. I am ecstatic. There will be pictures once it's ready. In the meantime, I can finally show the quilt that I made for Manuela for the ICE challenge with the Chicago Modern Quilt Guild. It was super fun coming up with a design--I made so many sketches and finally ended up with what I had thought originally.
I hope you like it Manuela! I had so much fun making it.
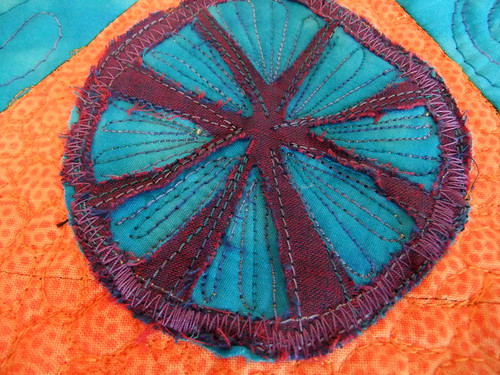
I couldn't shake the cathedral idea. That block just really reminded me of those beautiful cathedrals in Europe.
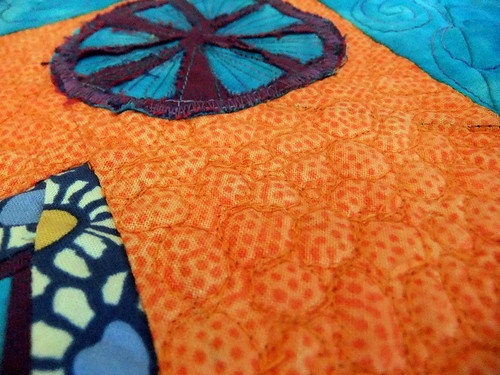
I had a lot of fun with the quilting on this one--I tried pebbles:
And made fluffy clouds!
And I had to have some wonky little trees!
I am not thrilled with the cathedral window, but here is a close up anyway:
And finally, the back.
I hope you like it Manuela! I had so much fun making it.
Friday, July 2, 2010
how could I forget?
Wednesday, June 30, 2010
Hip 2 Bee Square June
Just by the skin of my teeth! I finished this block. Jan asked for some wonky trees or log cabins, and we had to include these cute owls. I had a vision of the owls sitting on the trees, with a little wonky tree to the side. Here is what it turned out to be;
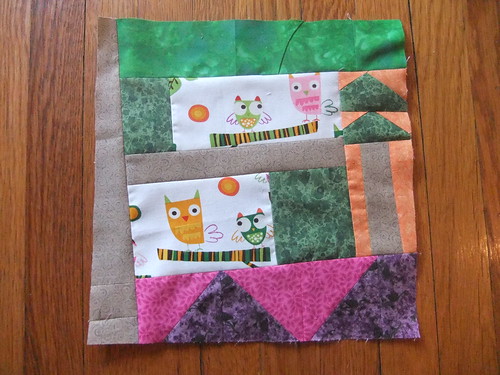
It was fun, and those owls are super cute!

It was fun, and those owls are super cute!
Monday, June 28, 2010
baby quilt finished
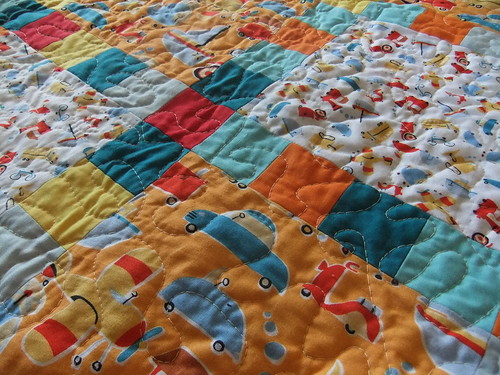
I showed this quilt before but I've finished it now. It came out really cute.
Some detail:
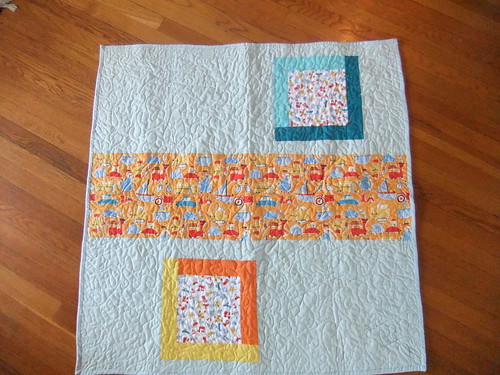
And the pieced back:
Some detail:
And the pieced back:
I got it done super early! My friend isn't due until the end of September, but it works out. I am pretty busy in the next few weeks, and we are moving apartments as well, so everything is going to have to be packed up pretty soon.
Sunday, June 6, 2010
More ICE at CMQG
At last month's meeting of the CMQG, we started our ICE challenge (see my block here). Each person who puts in a block got to take one home. Now comes the hard part--we build on the block we got and make a mini-quilt. I got Manuela's block. I really love it, but I am having a hard time doing it justice. I've made at least six sketches, and I've got ideas for a few more. If you had this lovely block, what would you do with it?
And you can only use the fabric in that little pile there...
And you can only use the fabric in that little pile there...
Saturday, June 5, 2010
Quick baby quilt...more process discussion
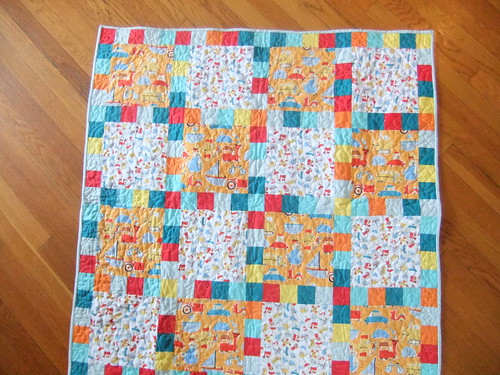
While I have not taken the "Process Pledge" per se, I feel like it is good to see how people come up with what they are doing. I had some cute David Walker "Oh Boy!" fabric, and I knew I wanted to make a baby quilt for my friends who are expecting in September. The fabric was so cute I didn't want to cut up the large-scale fabric, so I got out my notebook and designed a simple quilt. I am sure there are patterns out there for this quilt--I just made it up based on some basic measurements.
I knew I wanted 2.5" squares (2" finished) so I figured out that if I put four together, I would get a side of a square that is 8.5". So I cut my large squares 8.5x8.5, and cut a bunch of 2.5" strips.
Then I combined the strips together (length-wise) and cross-cut them into 2.5" pairs. Then I mixed them all up and laid them out, like this:
As you can see, because I was using pairs I ended up needing "singles" on the ends. I played around with the arrangement a little to make sure that there was some diversity--no pairs of the same color next to each other. I sewed each row together and then sewed all the rows together, and I have a completed top!
Now I just need to figure out what to use for backing. In general, it came together very quickly. Feel free to email me if you would like to make a similar quilt and have questions about the measurements or anything.
Monday, May 31, 2010
My first sewn clothing!
I've been sewing for about 20 years now, and pretty much all of it has been quilting. I really don't think I've ever made a piece of clothing (I have made a few purses). I picked up the most recent issue of Stitch, and I just fell in love with the Ruffled Halter top from Oliver + S. I knew I had to make it for my niece, who will turn 1 in about two weeks. I was also reorganizing my fabric yesterday, and came across Meadowsweet. So I jumped in and made this:
It's super girly, I know! I feel like I can't do it justice until she's wearing it. I hope she (and my sister) likes it!
It's super girly, I know! I feel like I can't do it justice until she's wearing it. I hope she (and my sister) likes it!
Sunday, May 30, 2010
Paintbox Quilt finally finished!
I started quilting this baby last weekend, but I ran out of thread, at around the same time that I also realized I had gone ahead and used the binding fabric for something else! So I had to wait on getting more thread and more fabric for binding. I got home from Texas (work trip again) to find my packages waiting for me. I got to work and finished the quilting and the binding!
My DH was kind enough to hold up the quilt for me to get a picture.
Here are some detail shots of the quilting--it's just stippling, because I was lazy.
Thanks to Elizabeth for hosting the quilt-a-long! I had a lot of fun with this one. I definitely had the moments when I thought I hated it, but now I love it again.
And for Jacquie's Spring To Finish Challenge, this is my last one! I made all my goals. I am super happy about that.
Finished!!! Here is the link to my post with my original goals.
What next? I feel like I have so much free time....ha!
Tuesday, May 25, 2010
Giveaway day was good to me!
Giveaway was great! I won a giveaway from Katie. I didn't even go to that many sites--I had a pretty tough week for work (lots of flight delays to and from Baton Rouge) so it sort of made up for my week. I got the package yesterday. Thanks Katie!
It's a bunch of charm squares of Hope Valley, and a honey bun of Wonderland by MoMo. Not sure what to do with them yet, but super fun to look at!
It's a bunch of charm squares of Hope Valley, and a honey bun of Wonderland by MoMo. Not sure what to do with them yet, but super fun to look at!
Saturday, May 22, 2010
And the winner is...
Number 124! Nadescha, from Hungary! I'll have to figure out the customs forms and everything, but I'll be sending you an email shortly for your address.
Thanks everyone for playing along!
Thanks everyone for playing along!
Friday, May 21, 2010
Bloggers Quilt Festival
Whew! It's been a busy week in quilting/crafting blogland! There was no way I could get through all the giveaways for Sew Mama Sew's giveaway day. I did what I could!
Now you're probably here for the Blogger's Quilt Festival! A big thanks to Amy for organizing, as I really do love it!

Here's my entry (which my followers have already seen):

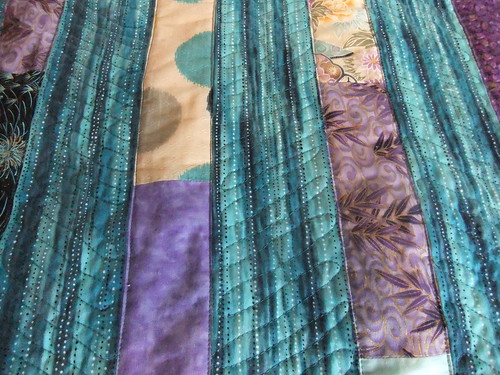
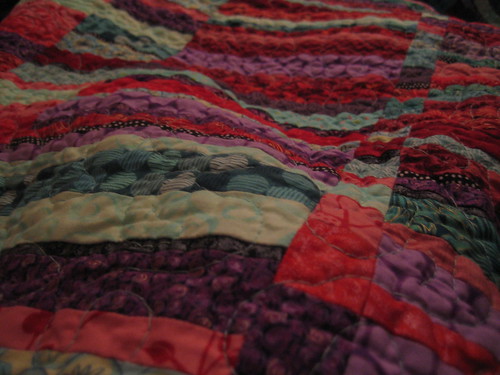
The pattern is called "Out of Line" and it is from Weeks Ringle and Bill Kerr. I had a lot of fun with it. Those strips are really small though--some have a finished size of .50"
Here's a detail shot:
You can see the black ones are the thinnest strips.
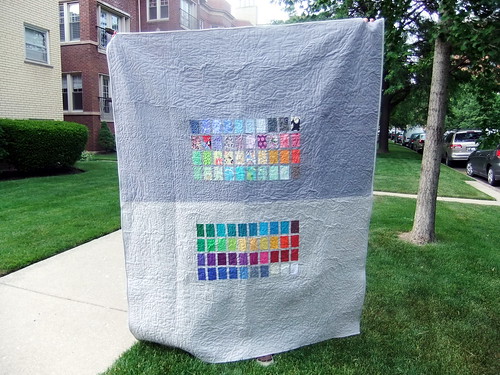
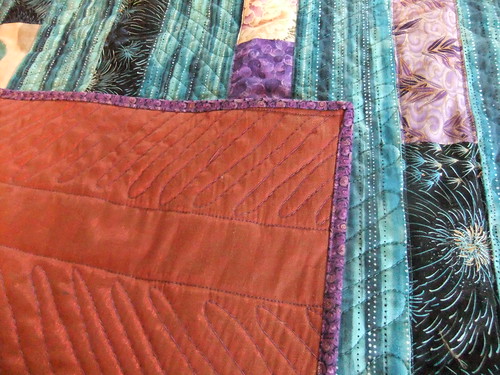
And here is the pieced back:

The turquoise is "Proud" from Keri Byer, and the red is Joel Dewberry's Deer Valley.
The quilt was a barter with my friend Peter. He is an artist and traded us one his paintings for a quilt. I really love the painting, so I'd say it was a fair trade!
Enjoy the rest of the festival!
Now you're probably here for the Blogger's Quilt Festival! A big thanks to Amy for organizing, as I really do love it!

Here's my entry (which my followers have already seen):

The pattern is called "Out of Line" and it is from Weeks Ringle and Bill Kerr. I had a lot of fun with it. Those strips are really small though--some have a finished size of .50"
Here's a detail shot:

You can see the black ones are the thinnest strips.
And here is the pieced back:

The turquoise is "Proud" from Keri Byer, and the red is Joel Dewberry's Deer Valley.
The quilt was a barter with my friend Peter. He is an artist and traded us one his paintings for a quilt. I really love the painting, so I'd say it was a fair trade!
Enjoy the rest of the festival!
Monday, May 17, 2010
Giveaway Day!
Today is Giveaway Day at Sew Mama Sew! Today I've decided I didn't have time to make anything, so I am giving away fabric! Who doesn't love more fabric?
I went with a little Asian-themed fabric. Each is about a fat quarter, except for the black, which is a full half yard. Also, each of the fabrics has some gold in it, which makes the whole thing a little bit shiny! I really love the white flowers--the outlining is in gold and it is super beautiful.
Everything is pre-washed. To win, just leave a comment telling me what you are working on in your crafty life. I'll draw a number at random (using Random.org) on May 20th at 9pm CDT (approximately).
Sunday, May 16, 2010
ICE at the Chicago Modern Quilt Guild
YAY! Today is our monthly meeting at the Chicago Modern Quilt Guild. We have a color workshop by Ebony, and the beginning of our ICE challenge. I think it stands for "Inspiration Challenge Event" so it probably doesn't need the "Challenge" at the end. That's me and my redundancy meter going off!
So the idea with the ICE is that we make a block with four fat quarters. We include the block and the leftover fabric in a bag. At the meeting, anyone who brings a back gets to take a bag home (from another person). Then in July we bring back the mini quilt we made with the block and the extra fabric. I'm excited to see what people come up with!
Here is the block I made. I used the tutorial at Modify Tradition. Of course, I didn't follow directions and cut my blocks too small--so I ended up cutting all the blocks to fit. It seems ok now but those triangles are going to get lopped off. Oh well-I am not trying to win any prizes here. Speaking of prizes....come back tomorrow for Giveaway Day!
Saturday, May 15, 2010
Why I don't mind traveling for work all the time
This has been a big travel month at work. This week I was in New York, next week I'll be in Baton Rouge, and the following week in Arlington, Texas. Certainly I have to deal with all sorts of travel delays, airport food, etc. But there are a few perks (besides the frequent flier miles). I get to visit my friends in other cities who I probably wouldn't see as often. And sometimes, I get to stop by an awesome fabric shop. I've always drooled over the fabric at PurlSoho. They just moved to a new space, and I got to check it out. It is gorgeous--very light and spacious. And the fabric was so lovely! I held back, and only came home with this:
The blue on the bottom is Anna Maria Horner's Little Folks Voile. The teal dots and the purple print are Echino, and I am not sure what the little fat quarters are--I think the purple is a shot cotton, because it's got a cross-weave of another color. No plan for them all, they just looked too yummy to pass up!
The blue on the bottom is Anna Maria Horner's Little Folks Voile. The teal dots and the purple print are Echino, and I am not sure what the little fat quarters are--I think the purple is a shot cotton, because it's got a cross-weave of another color. No plan for them all, they just looked too yummy to pass up!
Sunday, May 9, 2010
Can you believe it?
Because I hardly can. I finished the disaster quilt.
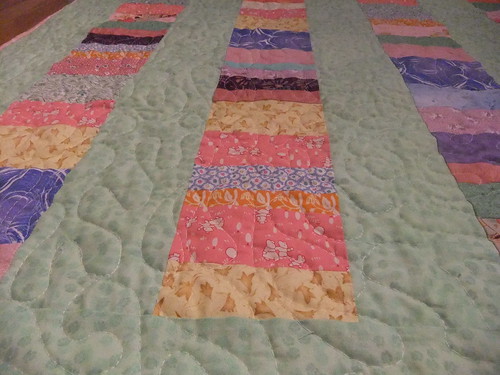
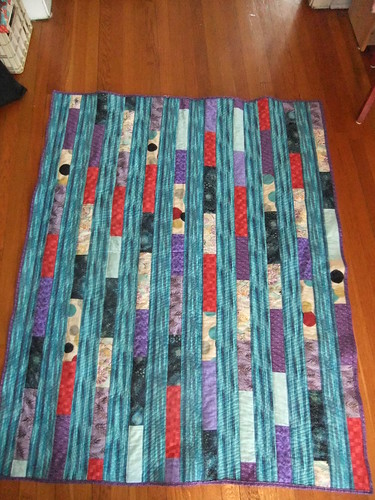
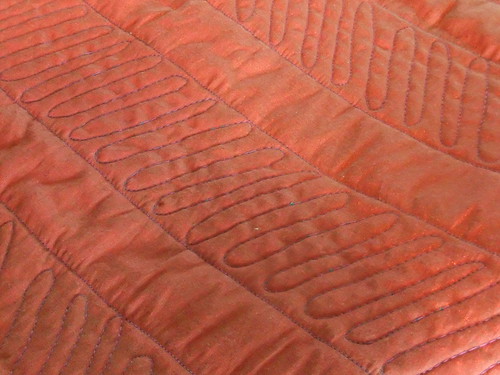
This quilt has been haunting my UFO pile for a long time. It gets its name from the fact that it used to be a disaster. I think I started and pieced it sometime in 2007. It's from a book by M'Liss Rae Hawley about fat quarter quilts. I can't remember the name of the pattern, and I am away from home right now--I'll have to update later. Anyway, for anyone who has done quilts with LONG pieces like this one, you know that you need to cut them just right (and not WOF). Once you are ready to sew all the rows together, I paired them up, then paired up the pairs, and so on. This would all be fine, but I sewed them all from top to bottom. This means that when I finished, there was a weird curve to the entire quilt. You can't just trim an end to fix it either. I got super discouraged and put it away for awhile, thinking that I would just cut up the whole thing and re-piece it into something different. Instead, I came back to it in the fall of 2009 and took it all apart. I measured each column and made sure they were all the same size. Then I sewed them back together, this time alternating the direction of sewing, which stabilizes the whole thing. I was much happier with it this time. But I still didn't quilt it. So I finally found some fabric in my stash that is a sort of shiny red fabric (I think it may have some sort of taffeta in it?). I quilted it with soft zig zags down the long striped sections, and then just straight lines to frame it.
I actually really like this quilt now!!!!
The quilting really makes it much more interesting. Anyone got better names for it than the disaster quilt? Because I think it might stick around for awhile.
And that makes four of six items off my list for the Spring to Finish Challenge! Woo hoo!
Friday, May 7, 2010
Hip 2 Bee Square May
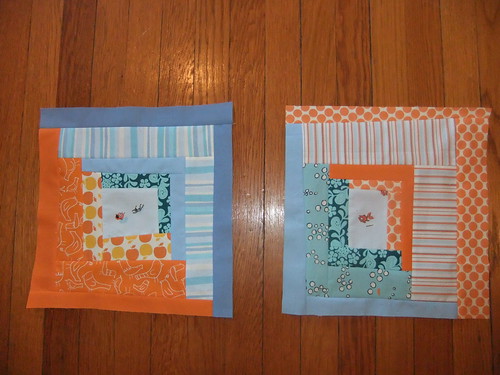
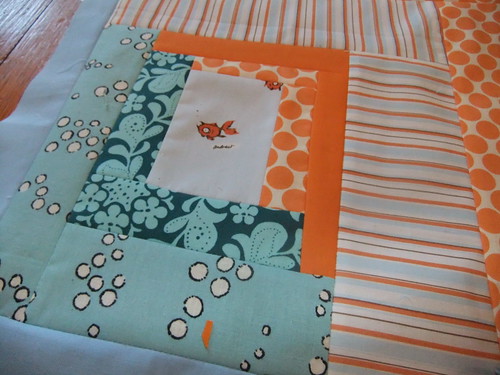
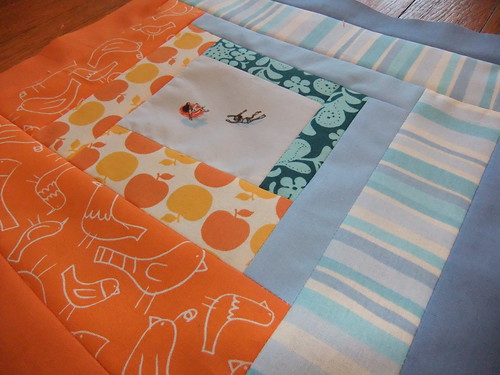
I got fabric from Kerry and immediately went to work! She asked for wonky log cabins. I made two--she gave us so much fabric I still had a bunch left over.
I really enjoyed the fabrics she sent, as they were super fun!
I realize that they are not super wonky, but I tried cutting without a ruler, as well as wonking things up a bit. They certainly are colorful!
Thursday, May 6, 2010
Hip 2 Bee Square April
A little late, but I sent off Stacey's blocks today.
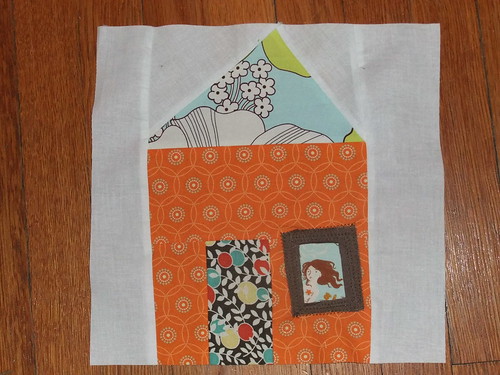
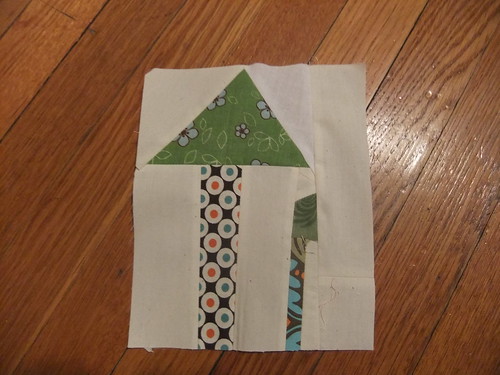
She asked for wonky stars, or houses, or trees. I went with houses and trees.
I hope she likes them! They are for the baby she is expecting (her first).
She asked for wonky stars, or houses, or trees. I went with houses and trees.
I hope she likes them! They are for the baby she is expecting (her first).
Subscribe to:
Comments (Atom)


